
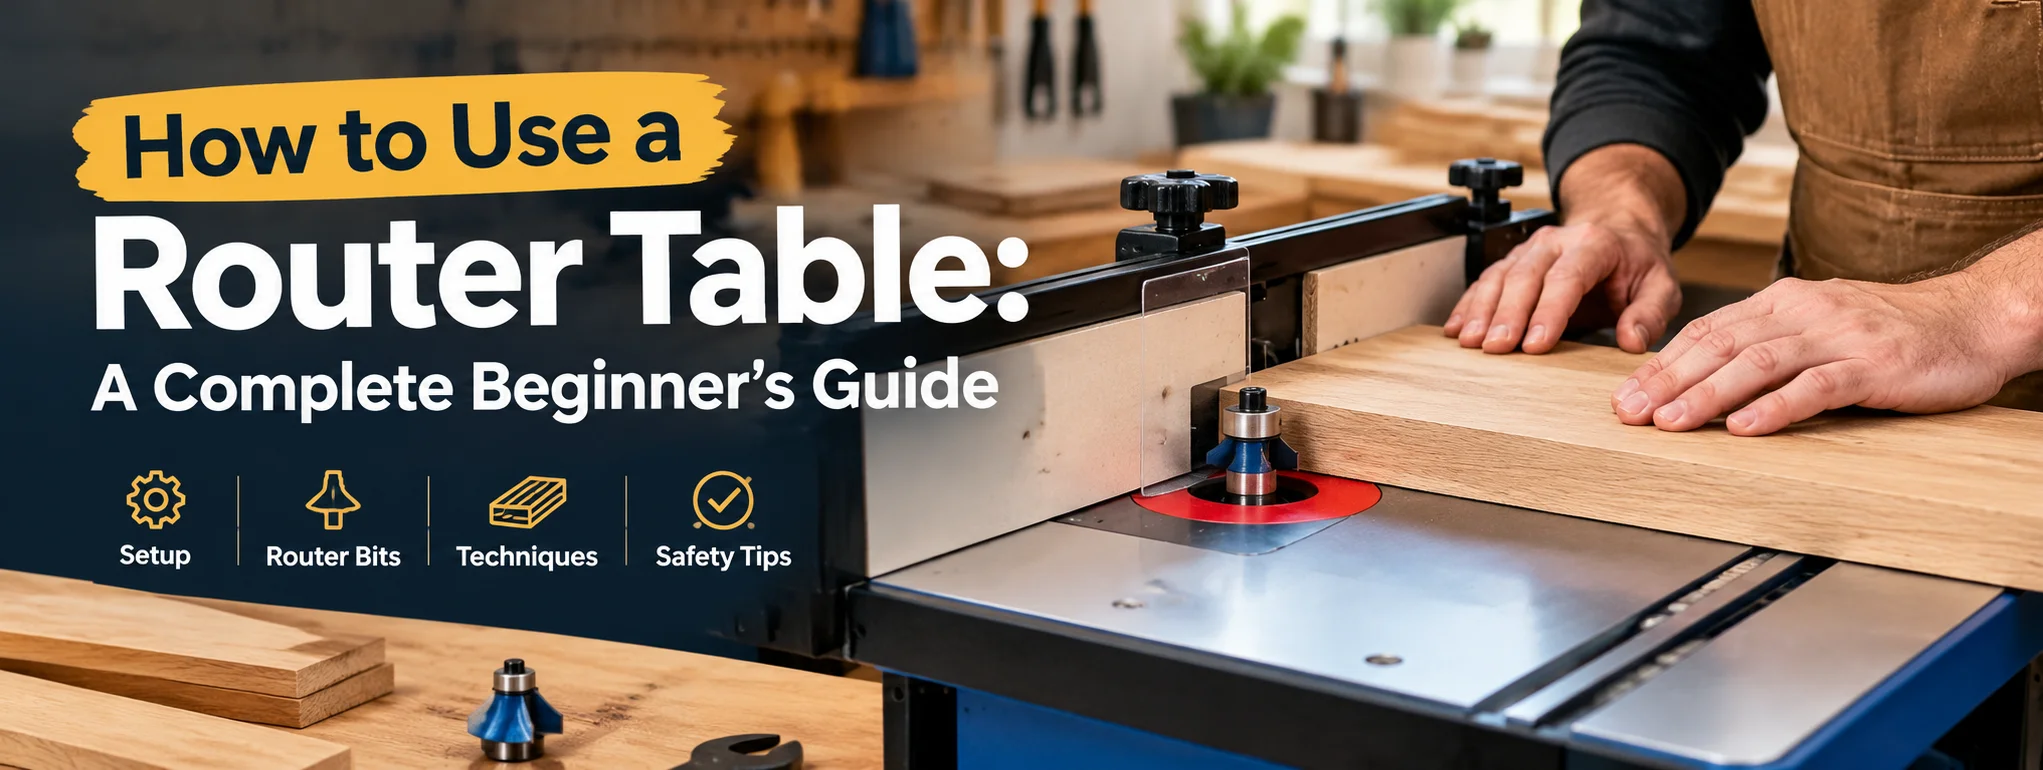
How to use a router table can transform your woodworking projects by helping you create clean edges, accurate grooves, decorative profiles, and professional-looking joints. Whether you are building cabinets, making furniture, crafting wooden shelves, or improving your DIY skills, a router table offers greater control and consistency than many freehand routing tasks.
However, achieving excellent results requires more than simply switching on the router. You need to understand the equipment, select the correct bit, adjust the fence, secure your workpiece, and follow essential safety procedures. With the right preparation and a little practice, you can produce precise, beautiful cuts while reducing mistakes and material waste.
Understanding Your Router Table Setup
Before starting your first project, become familiar with the main components of your router table. Each part contributes to the accuracy, stability, and safety of your cuts.
The Tabletop and Router Plate
The tabletop provides a flat, stable surface for supporting wood as it passes over the cutting bit. Most router tables include a removable insert plate that holds the router beneath the table.
A level plate is essential because an uneven surface can cause the workpiece to tilt, producing inconsistent cuts or increasing the risk of kickback.
Check that the plate sits flush with the tabletop and that the router is firmly secured before operating the machine.
The Router Bit
The router bit determines the shape and depth of the cut. Different bits are designed for different woodworking tasks, including decorative edging, straight grooves, rabbets, and joinery.
Choose a bit that matches your project’s requirements and is compatible with your router’s collet, speed range, and operating instructions.
The Fence and Featherboards
The fence guides the workpiece along a consistent path. Adjusting it controls how much of the cutting bit is exposed and helps maintain a uniform cut.
Featherboards apply steady pressure against the wood, keeping it firmly against the fence or tabletop. They are particularly useful when processing narrow boards, although their placement must not interfere with the cutting operation.
Essential Tools and Materials
Gather everything you need before turning on the router. Proper preparation makes the process smoother and helps prevent unnecessary interruptions.
Useful equipment includes:
- Router table and compatible router: Choose a stable setup with securely mounted components.
- Appropriate router bits: Select sharp, undamaged bits designed for your intended cut.
- Measuring tools: Use a ruler, tape measure, combination square, or calipers to check dimensions.
- Push blocks and featherboards: These help control the workpiece while keeping your hands away from the cutter.
- Safety equipment: Wear suitable eye and hearing protection, and use appropriate dust extraction.
Also prepare a scrap piece of wood similar to your actual workpiece. Test cuts allow you to refine the setup without risking expensive material.
How to Use a Router Table Step by Step
The best results come from following a consistent procedure. Take your time during setup, particularly when working with unfamiliar bits or materials.
Step 1: Inspect and Prepare the Router Table
Start by placing the router table on a stable, level surface. Check that the router is securely mounted, the insert plate is properly seated, and the fence is firmly locked.
Inspect the power cord, switch, collet, and bit for visible damage. Remove loose tools, offcuts, and debris from the tabletop.
If your table includes dust extraction, connect it before beginning. Wood dust can affect visibility and create respiratory hazards, so effective extraction is an important part of the setup.
Keep the router switched off and disconnected from power while making adjustments.
Step 2: Select and Install the Correct Router Bit
Choose a bit based on the shape and dimensions of the cut you want to make.
For example, a straight bit works well for grooves, while a round-over bit creates a smooth, rounded edge. A flush-trim bit can help trim material level with a template when the setup and workpiece are suitable.
To install the bit, disconnect the router from its power source. Follow the manufacturer’s instructions for loosening the collet, inserting the bit, and tightening it correctly.
Insert the shank to the depth specified by the manufacturer. Do not bottom it out unless the instructions specifically require that procedure, and never operate a bit with insufficient shank engagement.
Check that the bit is sharp, clean, and undamaged. A dull or cracked bit can produce poor results and create a serious safety hazard.
Step 3: Adjust the Cutting Height
The cutting height determines how deeply the bit enters the workpiece.
For a shallow decorative edge, expose only the amount of cutting profile needed. For a groove or rabbet, set the bit height according to the required dimensions.
Make adjustments with the router disconnected from power. Use the router’s height-adjustment mechanism and check the measurement with an appropriate gauge or ruler.
Avoid removing too much material in a single pass. Several controlled passes are often more effective than one aggressive cut, particularly when working with hardwood or making deep grooves.
Step 4: Position and Adjust the Fence
Move the fence toward or away from the router bit to establish the desired cutting depth. The fence should support the workpiece securely throughout the cut.
For straight cuts, align the fence carefully and lock it in position. If your table has a split fence, adjust the infeed and outfeed sections according to the bit profile and manufacturer’s guidance.
Use a straightedge to check alignment when necessary.
The fence opening should provide suitable clearance around the cutter without allowing the workpiece to catch on exposed edges. Use an appropriate guard or bit opening insert whenever available.
Step 5: Perform a Test Cut
Before routing your finished material, use a scrap piece with similar thickness and grain characteristics.
Reconnect power only after confirming that the bit, fence, guard, and work area are properly set up. Stand clear of the likely kickback path and switch on the router according to its operating instructions.
Allow the bit to reach its operating speed before feeding the workpiece.
Guide the scrap wood through the cutter with steady, controlled pressure. Inspect the cut for smoothness, accuracy, burning, and tear-out.
If the profile or dimensions are incorrect, switch off the router, wait for the bit to stop completely, disconnect power, and make the necessary adjustments.
Step 6: Feed the Wood in the Correct Direction
For a conventional router table with a standard router bit rotating in its normal direction, the workpiece is generally fed from right to left when viewed from the operator’s position at the front of the table.
This feeding direction allows the cutter to work against the movement of the wood, helping you maintain control.
Do not use a climb cut as a substitute for normal feeding technique. Climb cutting can cause the router to pull the workpiece away unexpectedly and is inappropriate for routine beginner operations.
Keep the workpiece flat against the tabletop and firmly supported against the fence. Use push blocks or other suitable devices when needed, and never force the material through the cutter.
Step 7: Complete the Cut and Inspect the Result
After the workpiece passes the cutting bit, continue supporting it until the entire cutting operation is complete.
Switch off the router and wait for the bit to stop completely before removing offcuts or inspecting the cutter.
Check the finished edge or groove for uniform depth, smoothness, and accurate dimensions. Small imperfections may be corrected by adjusting the setup and making another controlled pass, provided the workpiece remains safe to handle.
Clean the tabletop after the machine has been switched off and disconnected from power.
Common Router Table Cuts and Their Uses
Different router bits allow you to complete a wide variety of woodworking tasks. The following table summarizes several common applications.
| Router bit or setup | Main purpose | Typical application |
|---|---|---|
| Straight bit | Creates straight channels | Shelves, panels, and grooves |
| Round-over bit | Rounds sharp edges | Tabletops and furniture edges |
| Chamfer bit | Produces angled edges | Frames and decorative trim |
| Rabbeting bit | Cuts a step-shaped recess | Cabinet backs and frame joints |
| Flush-trim bit | Trims material to a template | Pattern-based woodworking |
| Cove bit | Creates a concave profile | Decorative molding and trim |
Always verify the bit’s intended use, permitted speed, cutting depth, and compatibility with your router before starting.
Practical Techniques for Cleaner, More Accurate Cuts
Once you understand the basic process, a few professional techniques can improve the appearance and consistency of your projects.
Make Multiple Shallow Passes
Removing too much material at once can overload the router, burn the wood, or create a rough edge. Divide deeper cuts into several passes when appropriate.
After each pass, disconnect power before adjusting the cutting height or fence. This method offers better control and can produce a cleaner finish.
Support Long and Narrow Workpieces
Long boards may sag or become difficult to guide if they are not adequately supported. Use suitable infeed and outfeed supports positioned level with the table.
For narrow workpieces, use appropriate guards, featherboards, and push devices designed for the operation. Avoid routing pieces that are too small to control safely.
Pay Attention to Grain Direction
Wood grain has a significant effect on the quality of a routed edge. Grain that changes direction can cause tear-out, particularly when routing hardwood or working near the end of a board.
Take light cuts and test the technique on scrap material. Some projects may benefit from routing the end grain first and then completing the long edges, although the safest sequence depends on the workpiece and operation.
Maintain a Steady Feed Rate
Moving too slowly can cause burning, while feeding too quickly may produce chatter, rough edges, or excessive strain on the router.
Aim for a smooth, consistent feed that suits the material, bit, and depth of cut. If the wood begins to burn, stop and investigate the cause instead of simply pushing faster.
Router Table Safety Rules Every Woodworker Should Follow
A router table is a powerful woodworking tool, and its exposed rotating cutter requires careful handling. Follow these five essential safety practices:
- Disconnect power before adjustments. Change bits, adjust cutting height, and reposition the fence only after disconnecting the router.
- Keep your hands away from the cutter. Use suitable push blocks and guards, especially for small or narrow workpieces.
- Wear eye and hearing protection. Use effective dust extraction and suitable respiratory protection when airborne dust cannot be adequately controlled.
- Secure the workpiece and fence. Confirm that the board is stable and the fence is locked before starting the router.
- Never rush or force a cut. Stop immediately if the workpiece catches, vibrates excessively, or becomes difficult to control.
Avoid loose clothing, jewelry, and anything that could become entangled in moving machinery. Keep children and bystanders away from the operating area.
Common Mistakes to Avoid When Using a Router Table
Even experienced woodworkers can make mistakes when working too quickly or using an unfamiliar setup.
Using the Wrong Bit Speed
Different bit diameters and designs have different safe speed limits. Running a large bit too quickly can cause dangerous vibration or bit failure.
Follow the bit and router manufacturers’ speed recommendations rather than assuming the highest setting is always best.
Skipping Test Cuts
A setup that looks correct may still produce a groove that is too deep or an edge that is uneven. A quick test cut can reveal these problems before they damage your finished project.
Ignoring Dull or Damaged Bits
Dull cutters often require more force and can produce burning, rough edges, and inconsistent results. Replace or professionally sharpen bits when appropriate, and discard damaged cutters.
Feeding Wood Without Proper Support
An unsupported board can tip, catch, or move away from the fence. Provide stable support and use suitable workholding accessories whenever the operation requires them.
Adjusting the Router While It Is Running
Never move the fence, change the cutting height, or reach near the bit while the router is operating. Switch off the machine, wait for all movement to stop, and disconnect power before making adjustments.
How to Maintain Your Router Table
Regular maintenance helps preserve accuracy and extends the useful life of your equipment.
After each session, disconnect the router and remove accumulated dust from the tabletop, fence, insert plate, and accessible router components. Follow the manufacturer’s cleaning instructions, particularly around the motor and collet.
Inspect the power cord, mounting hardware, guards, and adjustment mechanisms. Keep the tabletop clean and smooth so that wood can move without catching.
Check the fence for alignment and verify that the router remains securely mounted. Clean resin or pitch from bits with a product suitable for the cutter material, following the bit manufacturer’s instructions.
Store router bits in a protective holder to prevent damage to their cutting edges. Replace worn components and arrange professional servicing when the router develops unusual noise, vibration, or other signs of malfunction.
Frequently Asked Questions
1. Is a router table suitable for beginners?
Yes. Beginners can learn basic edge routing and groove cutting by starting with simple projects, using scrap wood, and following the router manufacturer’s safety instructions.
2. Which router bit should I use first?
A straight bit or a round-over bit is often useful for beginner projects. Choose the bit according to the specific cut you need to make.
3. Which direction should I feed wood through a router table?
For a conventional router table viewed from the front, the normal feed direction is generally from right to left. Always verify the correct direction for your particular setup.
4. Can I use a router table for hardwood?
Yes. A suitable router and sharp bit can cut hardwood effectively. Use an appropriate speed and take controlled passes to avoid overloading the machine.
5. How can I prevent burning on routed edges?
Use sharp, clean bits, maintain a consistent feed rate, and avoid taking excessively deep cuts. Also check the bit speed and inspect the setup if burning continues.
Final Thoughts
Learning how to use a router table is a valuable step toward producing more accurate, attractive, and professional woodworking projects. By understanding your equipment, installing the correct router bit, adjusting the fence carefully, and testing your settings on scrap wood, you can achieve consistent results across a wide range of applications.
The key is to develop good habits from the beginning. Make controlled cuts, support your workpieces properly, maintain sharp bits, and never compromise on safety. With regular practice, simple edge profiles and grooves can lead to more advanced projects involving cabinet components, decorative molding, and precise joinery.
1 thought on “How to Use a Router Table: A Complete Beginner’s Guide”