
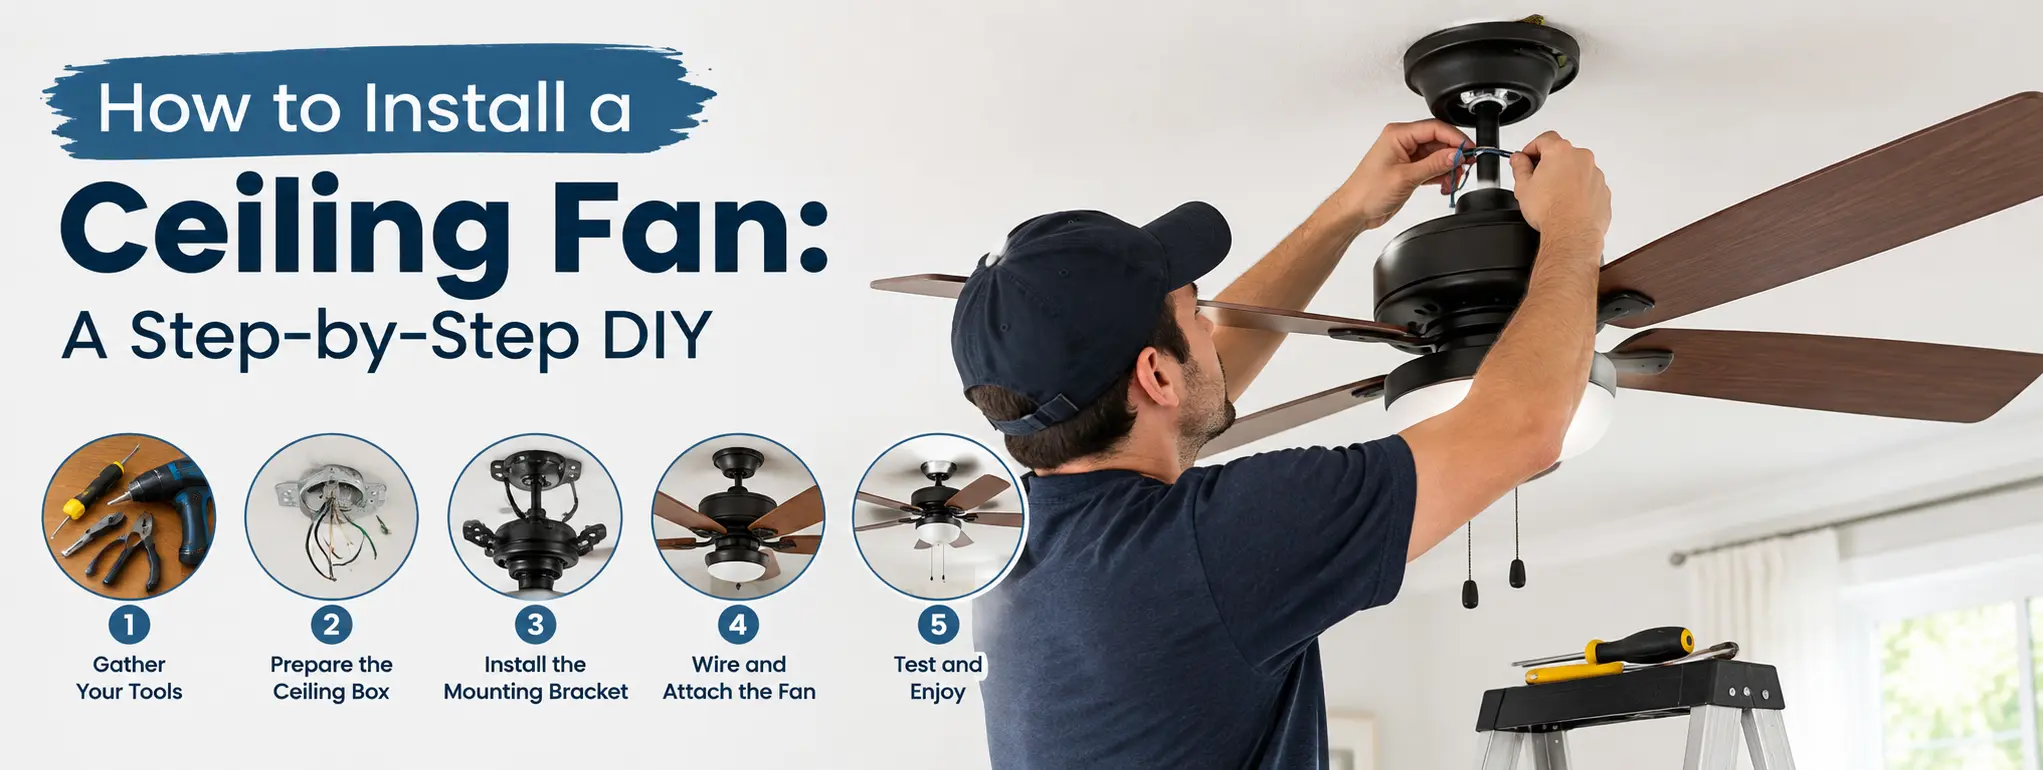
Installing a ceiling fan is a practical way to improve airflow, increase comfort, and make a room feel more inviting throughout the year. If you want to learn how to install a ceiling fan, the first step is to make sure your ceiling electrical box can safely support the fan’s weight and movement. With the correct tools, compatible mounting hardware, and careful preparation, many homeowners can handle a straightforward replacement project.
However, ceiling fan installation involves electrical wiring and overhead mounting, so safety must come first. A standard light fixture box is not automatically suitable for a ceiling fan, and an incorrectly secured fan can become dangerous over time. This guide explains how to prepare the ceiling, connect the wiring, mount the fan, and test its operation safely.
Tools and Materials Needed to Install a Ceiling Fan
Before starting, read the manufacturer’s installation manual. Different fan models may use different brackets, wiring arrangements, and assembly methods.
Gather these tools and materials before beginning:
- Screwdrivers, including Phillips and flathead types
- Voltage tester suitable for the circuit
- Wire strippers and approved wire connectors
- Adjustable wrench or socket set
- Ladder tall enough to reach the ceiling comfortably
- Fan-rated electrical box and mounting bracket, if required
- Safety glasses and any hardware specified by the manufacturer
You may also need a helper to hold the fan motor while you secure the mounting assembly. Ceiling fans can be awkward to handle overhead, particularly when working on a ladder.
How to Install a Ceiling Fan Step by Step
Step 1: Turn Off the Power
Start by switching off the circuit breaker that supplies electricity to the existing ceiling light or fan. Do not rely on the wall switch alone because electrical conductors may still be energized.
Use an appropriate voltage tester to verify that the wiring is de-energized before touching any conductors. Follow the tester manufacturer’s instructions, and confirm the tester works properly before and after testing.
If you cannot identify the correct breaker, discover unexpected wiring, or cannot verify that the circuit is safe, stop and contact a qualified electrician.
Step 2: Check the Ceiling Electrical Box
This is one of the most important parts of the installation. A ceiling fan produces movement and vibration, so its electrical box and support system must be specifically rated for ceiling fan use.
Remove the existing light fixture or fan only after confirming that the power is off. Inspect the box and its mounting arrangement. Look for a fan-rated box or a manufacturer-approved support system attached securely to appropriate framing.
A box designed only for a light fixture may not provide sufficient support. Do not assume that a metal box or a box that feels sturdy is suitable for a fan.
If the existing box is not fan-rated, have it replaced with an appropriate fan-support assembly. When access to the ceiling framing is difficult or the mounting arrangement is unclear, an electrician can determine the safest solution.
Step 3: Inspect the Ceiling Height and Location
Choose a location that allows the fan blades to rotate without striking walls, cabinets, beams, or light fixtures. Check the clearances specified in the fan’s manual and applicable local building requirements.
For many standard ceiling fan installations, the blades should be at least 7 feet above the finished floor. Higher clearance is preferable when the room allows it. Follow the manufacturer’s requirements and applicable local code if they call for more space.
For low ceilings, consider a flush-mount fan or another model specifically designed for limited clearance. For high ceilings, a compatible downrod may help position the fan at an appropriate height.
Sloped ceilings require a fan and mounting system approved for the particular ceiling angle. Not every fan bracket is suitable for a vaulted or angled ceiling.
Step 4: Assemble the Ceiling Fan
Unpack the fan and compare the components with the installation manual. Identify the mounting bracket, motor housing, downrod or flush-mount hardware, blades, screws, and any lighting components.
Depending on the design, you may need to attach the downrod, secure the canopy, connect the mounting components, or install the blades before hanging the motor.
Tighten fasteners according to the manufacturer’s instructions. Avoid overtightening screws, which can damage components or threads.
Keep small hardware organized and inspect the blades for visible damage. A damaged blade or missing fastener can cause imbalance and unnecessary vibration.
Step 5: Secure the Mounting Bracket
Attach the supplied mounting bracket to the fan-rated electrical box or approved support system using the specified hardware. The bracket must be firmly secured before the fan is suspended.
Do not substitute random screws or rely on drywall anchors to support a ceiling fan. The mounting system must transfer the fan’s load to a suitable structural support.
If the fan uses a downrod, make sure it is seated and secured exactly as instructed. Some models include a safety pin, locking clip, or additional fasteners that prevent the assembly from separating during operation.
Before proceeding, verify that the bracket and support system are secure and compatible with the fan.
Step 6: Connect the Ceiling Fan Wiring
Electrical connections vary depending on whether the fan has a light kit, remote receiver, separate wall controls, or a standard pull-chain design. Always use the wiring diagram supplied with your specific model.
Common household wiring in the United States may include the following:
| Wire or connection | Typical purpose |
|---|---|
| Black | Often supplies power to the fan motor |
| Blue | Often supplies power to the light kit |
| White | Typically neutral |
| Green or bare copper | Typically equipment grounding |
| Red | May provide a separate switched supply |
These colors describe common arrangements, not a guarantee of what is present in your ceiling. Older wiring, previous modifications, and different control systems can change the arrangement.
With the circuit verified off, connect the conductors according to the manufacturer’s diagram and applicable electrical code. Use approved connectors, ensure no bare conductor is exposed outside the connector, and make sure grounding is completed as instructed.
If the ceiling has only one switched supply, a fan and light may need to share that supply or use a compatible remote-control system. Do not assume that the wires can be connected by matching colors alone.
Never guess about unidentified conductors. If the wiring does not match the diagram, stop and have a qualified electrician identify the circuit.
Step 7: Attach the Fan Motor and Canopy
Once the wiring connections are complete, carefully position the motor assembly on the mounting bracket. Many fans have a temporary hook or hanging feature that allows the motor to remain supported while you finish installation.
Keep wires from being pinched between the motor housing, bracket, and canopy. Secure all locking screws, clips, and other retaining hardware specified by the manufacturer.
Raise the canopy to cover the electrical connections and fasten it in place. The canopy should sit correctly against the ceiling without forcing wires into a tight space.
Before moving on, confirm that the motor assembly is properly supported and that all required mounting hardware is installed.
Step 8: Install the Fan Blades and Light Kit
Attach each blade to its blade iron or mounting arm using the supplied screws and washers. Some fan designs require the blade arms to be installed on the motor first, while others use a different arrangement.
Tighten the screws evenly and follow the specified sequence. Loose or unevenly mounted blades can cause wobbling, noise, and premature wear.
If your fan includes a light kit, install it according to the manufacturer’s wiring instructions. Use only compatible bulbs or integrated lighting components, and observe any wattage limitations printed on the fixture.
Install the blade covers, decorative trim, and other remaining parts without obstructing moving components.
Step 9: Restore Power and Test the Fan
Before restoring power, make sure the fan is completely assembled, the canopy is secure, and all tools have been removed from the work area.
Turn the circuit breaker back on and operate the fan using its intended wall control, remote, or pull chain. Test the available speeds and light functions, if included.
Watch for excessive wobbling, unusual grinding sounds, a burning smell, flickering lights, or unexpected electrical behavior. Switch off the fan and circuit if you notice a concerning problem, and investigate only after the circuit is safely de-energized.
If the fan wobbles, check that the blade screws and mounting hardware are secure. Use the manufacturer’s balancing kit if necessary. Persistent vibration or movement at the ceiling mount requires further inspection.
Common Ceiling Fan Installation Problems and Solutions
Even a carefully installed fan may need minor adjustments. Understanding the cause of a problem can help you avoid unnecessary repairs.
| Problem | Possible cause | Recommended action |
|---|---|---|
| Fan does not start | Power supply, control, or wiring issue | Switch off power and have the circuit and connections checked |
| Light works but fan does not | Motor control, remote receiver, or connection issue | Check the model’s troubleshooting instructions |
| Fan wobbles | Uneven blades or loose hardware | Switch off the fan, inspect fasteners, and balance the blades |
| Fan makes clicking noises | Loose parts or blade interference | Inspect the assembly with power off |
| Remote does not respond | Batteries, pairing, or receiver issue | Follow the manufacturer’s remote-control instructions |
Do not attempt to troubleshoot exposed live wiring while the fan is energized. Electrical faults that cannot be resolved through the manufacturer’s safe troubleshooting procedure should be handled by a qualified electrician.
Ceiling Fan Installation Tips for Better Performance
A fan that is securely installed and correctly sized for the room can provide more comfortable airflow with less unnecessary noise.
Keep these five practical tips in mind:
- Choose the correct fan size: Compare the manufacturer’s room-size recommendations with your room’s dimensions before purchasing.
- Prioritize secure mounting: Use a fan-rated electrical box or approved support system attached to suitable framing.
- Select the right mounting style: A flush-mount model may suit a low ceiling, while a compatible downrod may work better for a taller room.
- Check blade clearance: Make sure the fan can rotate freely without contacting nearby objects.
- Keep the manual: Store the wiring diagram, remote-control instructions, and balancing kit information for future maintenance.
One often-overlooked detail is the wall control. Some electronic speed controls and dimmers are not compatible with every ceiling fan. Use a control specifically approved for the fan, and check compatibility before replacing an existing switch.
How Much Does Ceiling Fan Installation Cost?
The cost of installing a ceiling fan depends on the fan itself, the condition of the existing wiring, ceiling height, and whether additional electrical work is necessary.
Replacing a compatible existing fan is generally a simpler job than installing a fan where no suitable electrical box or wiring exists. New wiring, structural support, difficult ceiling access, or vaulted ceilings can increase labor and material costs.
| Installation situation | Factors affecting cost |
|---|---|
| Replacing an existing fan | Existing support, wiring compatibility, and assembly time |
| Replacing a light with a fan | Fan-rated box and structural support requirements |
| Installing a fan in a new location | Wiring, switching, and access to the ceiling cavity |
| Installing on a high ceiling | Ladder or specialized access equipment and downrod requirements |
| Adding a remote or wall control | Compatibility, wiring, and control-system requirements |
For an accurate estimate, request a local electrician’s quote that separates labor, materials, electrical upgrades, and any additional access costs. Prices vary by location and project complexity, so a single universal installation price would be misleading.
When Should You Hire a Professional Electrician?
A straightforward replacement may be manageable for a homeowner with appropriate experience, but not every ceiling fan installation is suitable for DIY work.
Hire a qualified electrician if the electrical box is not fan-rated, the ceiling support is uncertain, the wiring is damaged or unidentified, or the circuit does not match the installation diagram.
Professional help is also advisable when installing a fan in a new location, modifying household wiring, working on a high or vaulted ceiling, or dealing with older electrical systems.
Stop immediately if you find scorched insulation, loose electrical connections, signs of overheating, or exposed conductors that cannot be safely identified. The cost of professional installation is worthwhile when it prevents an electrical hazard or an improperly supported fan.
FAQs About How to Install a Ceiling Fan
1. Can I install a ceiling fan where a light fixture was installed?
Yes, in some cases. The existing electrical box must be replaced or verified as suitable for ceiling fan support, and the wiring and controls must be compatible.
2. How long does it take to install a ceiling fan?
Replacing an existing fan can take a few hours, depending on the model and your experience. New wiring, support work, or difficult ceiling access can make the job considerably longer.
3. Do I need a special electrical box for a ceiling fan?
Yes. Use a box specifically listed or rated for ceiling fan support, installed according to its instructions and applicable code. A standard light fixture box is not automatically suitable.
4. Can a ceiling fan and light use the same wall switch?
Often, yes. The exact arrangement depends on the fan, the wiring, and the controls. A compatible remote receiver may also allow separate fan and light operation.
5. Why does my newly installed ceiling fan wobble?
Wobbling can result from uneven blades, loose blade screws, incorrect assembly, or a mounting problem. Turn off the fan, inspect the hardware, and follow the manufacturer’s balancing instructions. Have the mounting system checked if the fan moves at the ceiling.
Final Thoughts
Learning how to install a ceiling fan can help you improve airflow and make a room more comfortable, but a safe installation begins with the right support system and a clear understanding of the electrical connections. Check the ceiling box, follow the manufacturer’s instructions, secure every component, and test the fan carefully before regular use.
Remember that a ceiling fan is both an electrical appliance and a moving overhead fixture. Never compromise on structural support, grounding, or safe wiring practices to save time. If the existing installation is uncertain or the wiring does not match the instructions, consult a qualified electrician. A properly installed ceiling fan can provide dependable comfort for years while giving you greater confidence in your home’s electrical safety.
2 thought on “How to Install a Ceiling Fan: A Step-by-Step DIY Guide”